Ready to turn your imagination into reality? Designing your first 3D model is easier than you think. Here's a step-by-step guide to getting started.
Choosing Your Software
For beginners, selecting the right tool is crucial. You don't need expensive professional software to start learning the basics of CAD (Computer-Aided Design).
- Tinkercad: Perfect for absolute beginners and kids. Browser-based and free.
- Fusion 360 (Personal): Great for those ready for more power and precision.
- Blender: Best for artistic sculpting and organic shapes.
Design Basics
Every complex 3D model starts with simple shapes. Mastering these fundamental operations will give you the power to build almost anything.
- Add & Subtract: Combine shapes or cut holes to create new forms.
- Scale & Rotate: Adjust size and orientation precisely.
- Align: Ensure your parts fit together perfectly.
Your First Project: A Nametag
The classic "Hello World" of 3D printing is a simple keychain or nametag. It teaches you everything you need to know about placing text, combining it with a base plate, and adding a hole for a key ring.
- Drag a box onto the workplane and flatten it.
- Add a text object and type your name.
- Place the text on top of the box.
- Add a cylinder hole to one corner for the ring.
- Group everything together to create a single solid object!
Ready to Print?
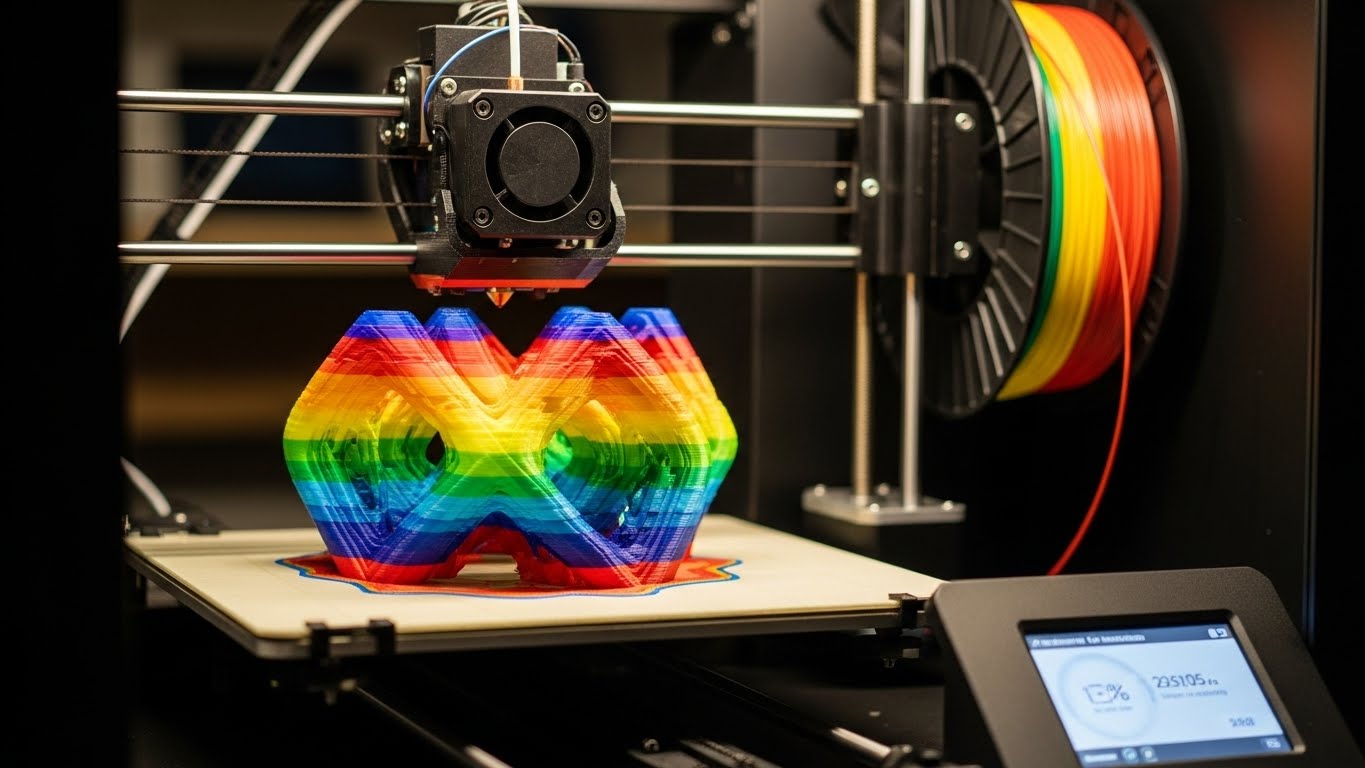
Once your design is done, you'll export it as an STL file. This is what the 3D printer software (slicer) reads. Join one of our workshops to print your first creation for free!